Last week, a couple of friends and I decided to have a bit of a "crafternoon" around at my house, and we were actually quite productive!
One of the major "crafty" (more like DIY) things we did was repaint my chest of drawers. I have been wanting to do this for ages as it was a completely different colour to the rest of my bedroom furniture! And for the cost of the paint, it was a lot cheaper to paint it rather then get another one.
What you will need:
- A sander, just to get the old varnish off (I picked one up from Bunnings for $34)
- Paint (I chose Gloss Paint and it made all the difference!)
- A paint brush. Now the man at Bunnings did say to use a roller, but the paint went on so much nicer with the paint brush.
Step 1.
Remove the handles from the drawers.
(NB: For the next few steps, you need to be somewhere well ventilated!)
Step 2.
Sand the varnish off of the drawers with the sander.
Step 3.
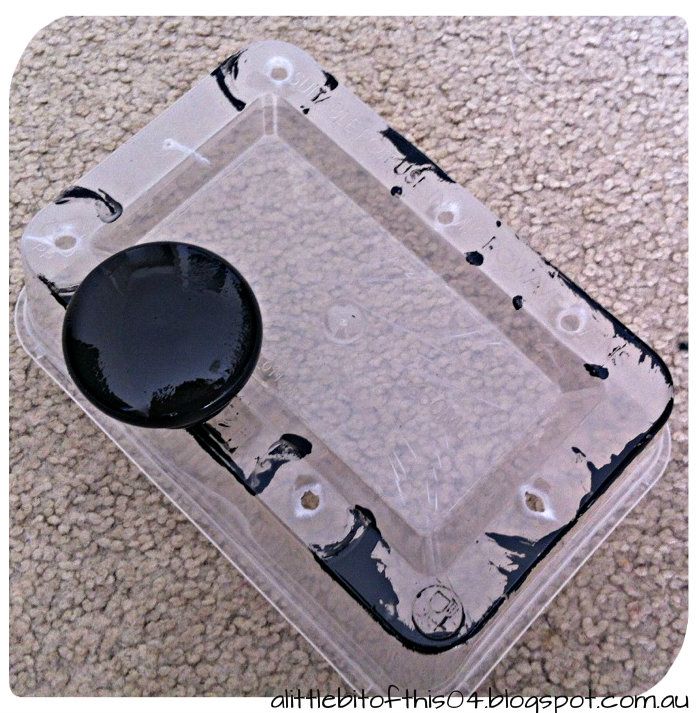
Find a container that will allow you to drill holes in it and drill enough holes so that all of the handles have something to dry on (if they are circle!)
This is what I did and it made painting the handles so much easier!! Placed the screws from the handles through the holes and then screwed the handles back onto them!
Step 4.
Paint the handles and the drawers.
These will need to dry overnight and then you can put it all back together!
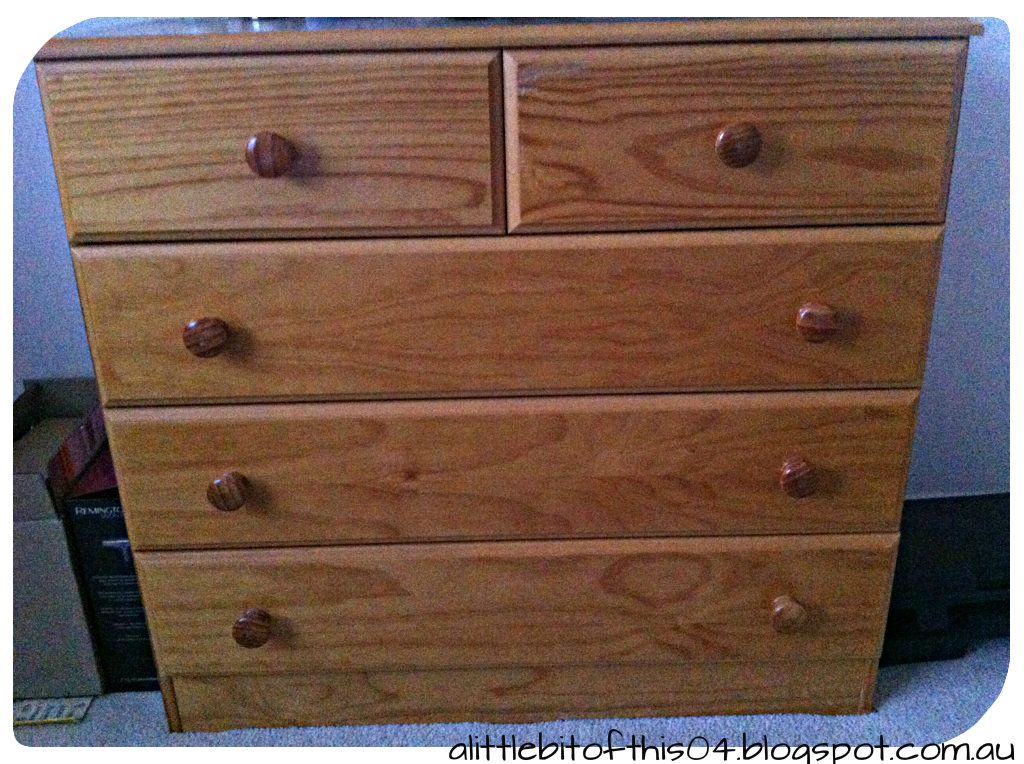
This is what my chest of drawers looked like before:
And this is the finished result!

So much nicer!!
The other project that we completed was flower pots - with a twist! These are so so cute and easy, and would be a great gift for somebody.
What you will need:
- A tray for the pots to sit on
- 3 x pots (or however many will fit on your chosen tray)
- Soil
- Plants (these could be flowers, herbs etc)
...and the twist....
- Chalkboard paint!
Step 1.
Paint the pots with the chalkboard paint, making sure all of your brush strokes are in the same direction. Also, ensure you paint at least half of the pot inside so that you cannot see the original colour once the plants are in.
Step 2.
Once they are dry, place the plants into the pots
Step 3.
Fill the pots with soil

Step 4.
Place on the tray, write whatever you like on them, and you are done!!

I have a few other projects to do this week, but I won't be able to put them up until after my sister's birthday as they are for her! (he he he)
- J x